# How to Build a Built-In Wardrobe
Building a built-in wardrobe can transform a cluttered bedroom into a sleek, organized space. Not only does it offer a custom storage solution tailored to your needs, but it also adds value to your home. This guide will walk you through the steps to create a built-in wardrobe, from planning to execution, ensuring you end up with a functional and stylish addition to your room.
## Planning Your Built-In Wardrobe
### Assessing Your Needs
Before diving into the construction, it’s crucial to assess your storage needs. Consider the types of items you’ll store, such as clothes, shoes, and accessories, and how much hanging versus shelf space you require. This assessment will guide the design of your wardrobe.
### Design and Measurements
Designing your wardrobe involves deciding on its size, style, and internal configuration. Measure the space where the wardrobe will go, considering ceiling height and available width. Remember to account for any obstacles like windows or doors. Sketching your design or using design software can help visualize the end product.
### Materials and Tools
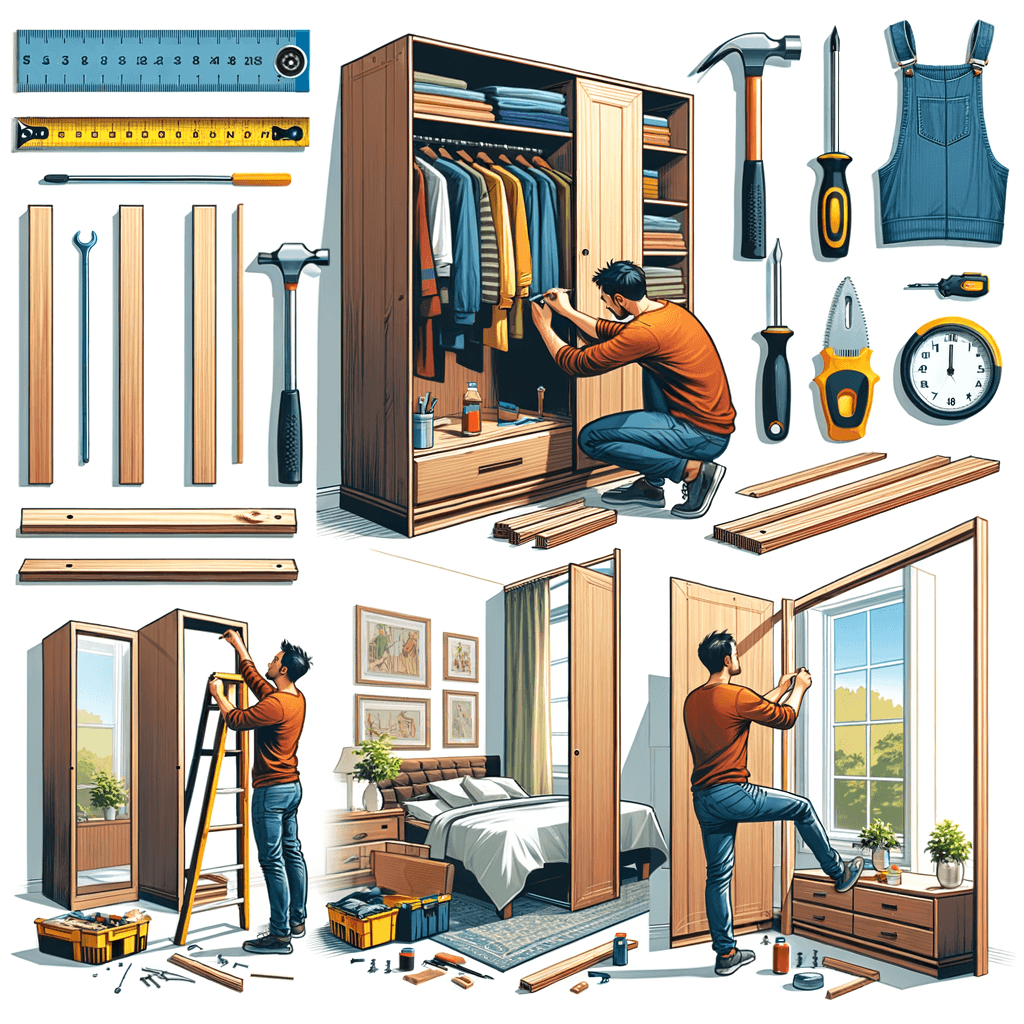
Selecting the right materials is vital for both the appearance and durability of your wardrobe. Medium-density fibreboard (MDF) or plywood are popular choices for the structure due to their strength and ease of working with. For the doors, consider mirrored, wooden, or even frosted glass options depending on your style preference. Ensure you have all necessary tools, including a saw, drill, screws, and level, before starting.
## Building the Wardrobe
### Constructing the Frame
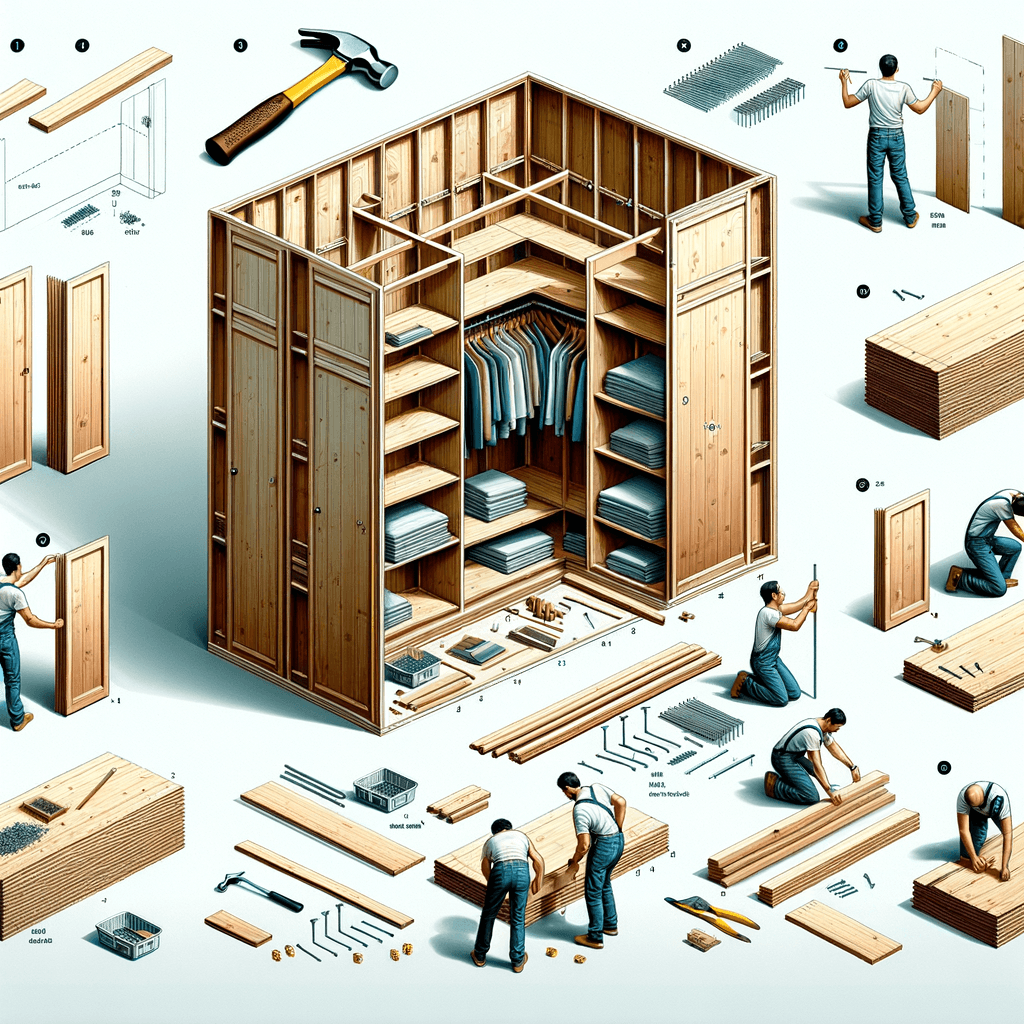
The frame is the skeleton of your wardrobe, and its construction is critical for the overall stability.
– Start by building the base, ensuring it’s level and securely attached to the floor.
– Construct the sides and top of the frame, attaching them to the base and each other.
– Use a level to check that everything is perfectly vertical and horizontal before securing it to the wall.
### Adding Internal Components
With the frame in place, you can start adding shelves, hanging rods, and drawers.
– Decide on the placement of each component based on your storage needs assessment.
– Use shelf supports for adjustable shelving, allowing you to change the configuration as needed.
– Install drawer runners and build drawers to fit, if including in your design.
### Finishing Touches
The final step is to add doors, handles, and any additional decorative elements.
– If using sliding doors, install the track according to the manufacturer’s instructions.
– For hinged doors, ensure they’re evenly spaced and level.
– Choose handles that complement the style of your room and install them at a consistent height.
## Conclusion
Building a built-in wardrobe requires careful planning, precise measurement, and attention to detail. However, the effort is well worth it, resulting in a custom storage solution that enhances your space both functionally and aesthetically. By following the steps outlined above, you can create a built-in wardrobe that meets your specific needs and adds value to your home. Whether you’re an experienced DIYer or a novice, this project is an opportunity to tailor your living space to your lifestyle, ensuring everything has its place.

